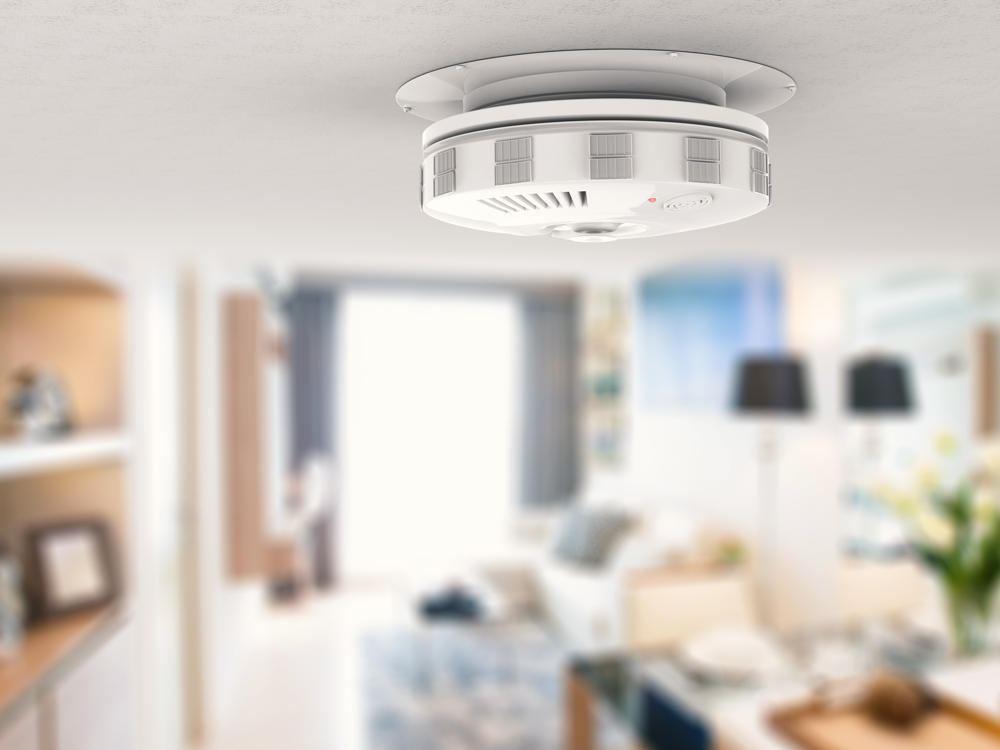
If you’ve been in a home for any amount of time a chirping smoke detector is a sound you know. Often, multiple detectors will start chirping around the same time due to a dying battery. This is an easy DIY fix that can be finished in one morning and you only need a few supplies.
Here are the supplies you will need:
• A ladder or step ladder
• A 9-volt battery
• A pair needle nose pliers (not always necessary)
After you find the culprit, set up your ladder and give the smoke detector a counterclockwise twist it should pop right off. There will still be wires connecting it to the ceiling. By pinching the two tabs on the side of the connecter you can unclip the wires allowing you to change the battery when you’re safely off the ladder. If the tabs are difficult to pinch with your fingers use the needle nose pliers.
Remove the battery cover and pull the tab under the battery for easy removal. After you remove the battery check for corrosion around the contact points. If there is corrosion from a leaking battery you need to clean it off or purchase a new detector. It’s now time to put it the new battery. Make sure to line up the correct polarity which will be shown on the side of the battery and on the smoke detector. When done close the battery cover, plug the connector back into the detector and give it a clockwise turn to remount it to the ceiling.
If the detector is still chirping remove the battery, hold down the test button for 15 to 20 second then reinstall the new battery and mount the detector. If the chirping continues you may need to consult a professional or purchase a new one.
Don’t want to worry about replacing your smoke detector’s batteries or can’t make the chirping stop? Washington residents can give Home Works Repair Service a call at (360) 397-0348 or visit their website and schedule a service call.


